With the coming of spring, I decided it was time to dust off the brewing equipment again. My last brew, affectionately dubbed Bad Ass Mo Fo, served us well through the winter months. While I've been wanting to build the equipment for all-grain brewing, I just couldn't wait for me to "get it in gear" to figure all this out. The birds are singing, the sun is warmer -- it's time for something new, something fresh, something to wake us up from Maine's long winter!

While historically I haven't been a heavily hopped-beer lover, recently I've begun to appreciate their boldness. After all, I do love bold flavors. Perhaps I should reclaim the adage of "there's no such thing as strong coffee, only weak people", and apply this to beer. Too, my neighbor John has turned me onto a couple excellent IPA's including Red Racer out of British Colombia and Maine's newest craft brew Stowaway IPA from the Baxter Brewing Co. What sealed my fate was enjoying a Big Twitch IPA from the Marshall Brewing Co., Belfast ME.
I turned to the grandfather of homebrewing, Charlie Papazian and the
Complete Joy of Homebrewing, for ideas. I was intrigued by the Palilalia IPA, perhaps because I still can't pronounce the damn name or perhaps for the fact that he describes it as "not quite as dry as a traditional IPA but has plenty of character. The toasted malted barley lends a copper color and malty aroma". He doesn't include oak chips in the list of ingredients, but in the narrative he describes tossing in a handful of steamed oak chips during the fermentation, since IPA is often aged this way. Huh, didn't know that, which is why it's great to brew yourself. You get to really know what goes into the character of beer. Next time, I'll try the oak chips.
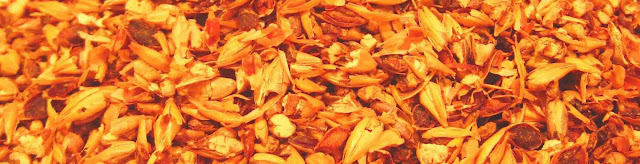 |
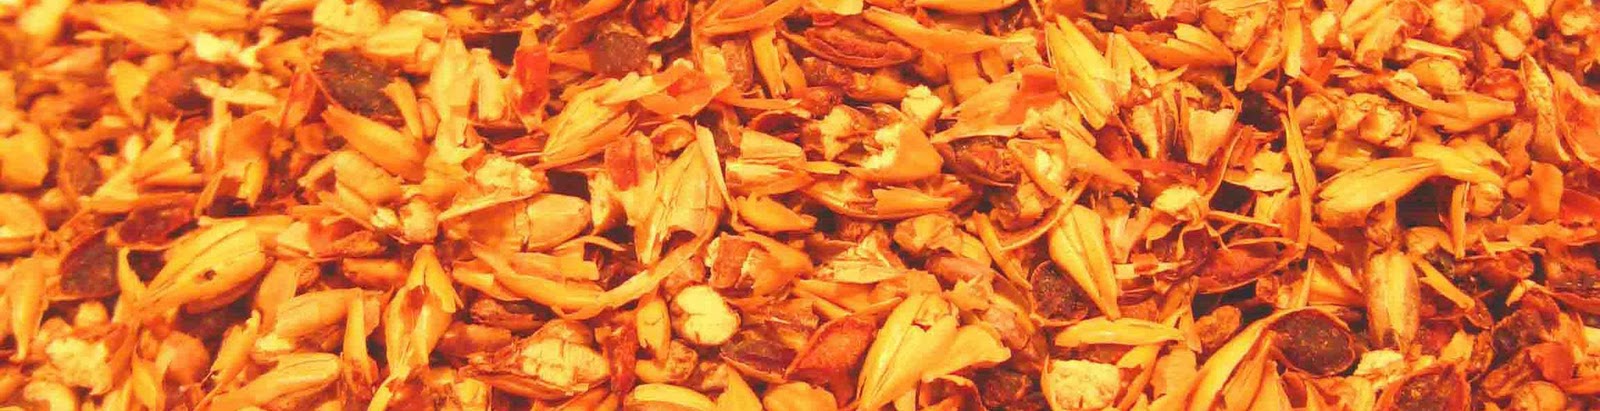
| Crystal malt & roasted barley |
Ingredients for 5 Gallons:
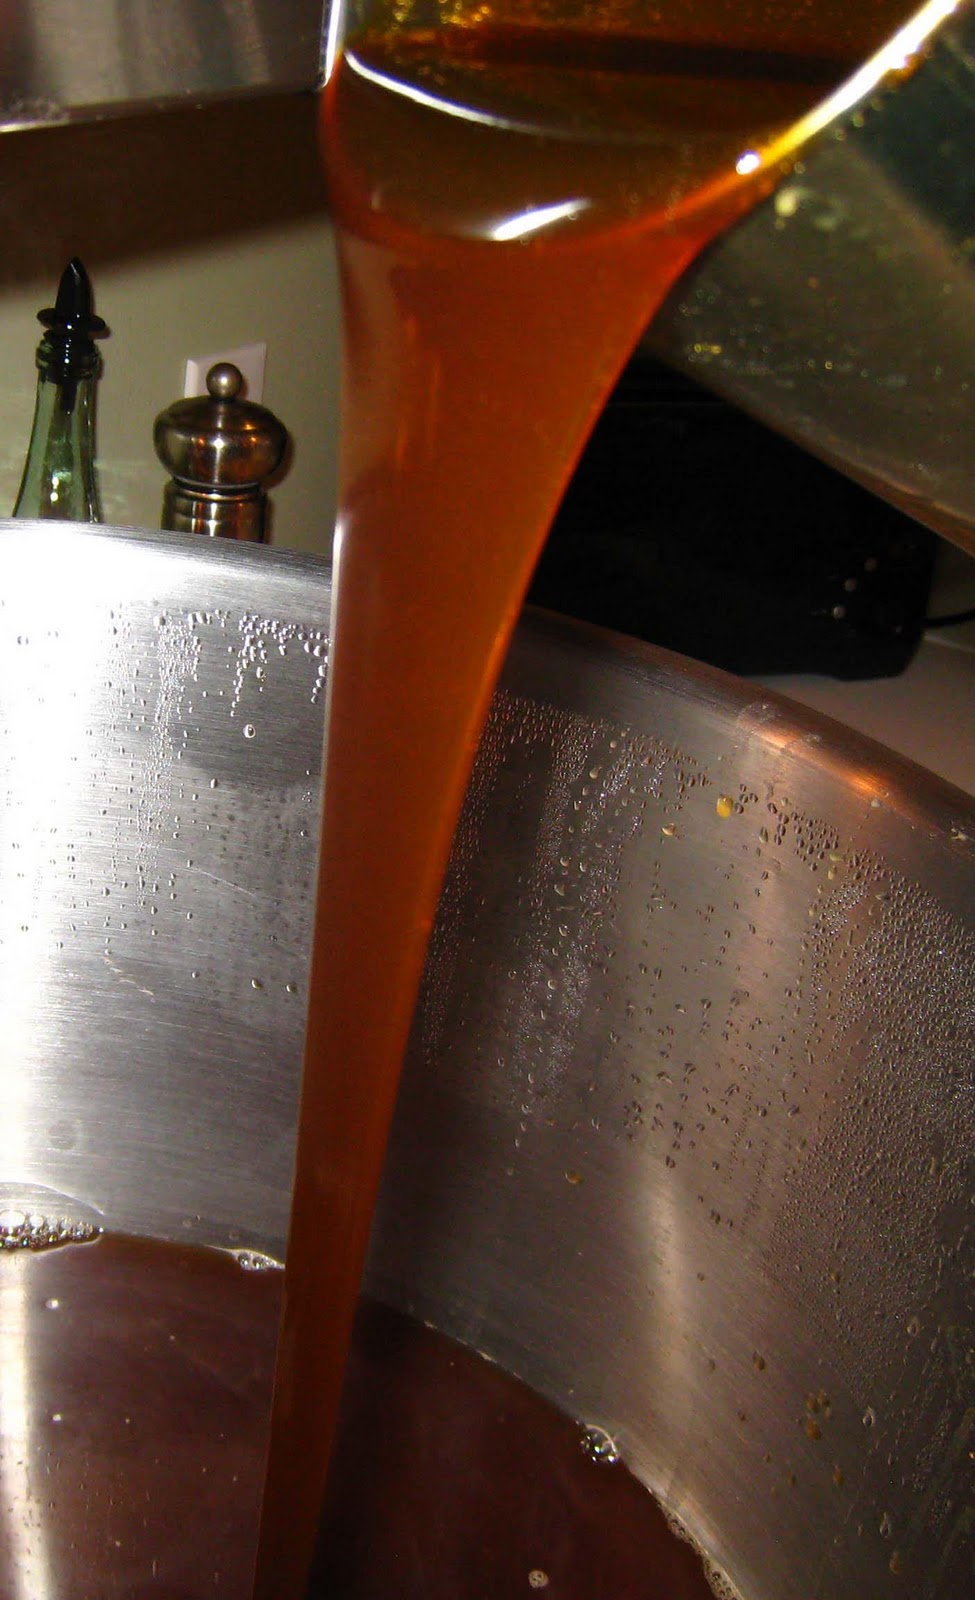
5 1/2 lbs. of amber malt extract
1 lb. crystal malt
1/2 lb. toasted barley (my store has 40 or 60, I chose 60 - not sure what that means other than it will be a little darker)
2 tsp gypsum
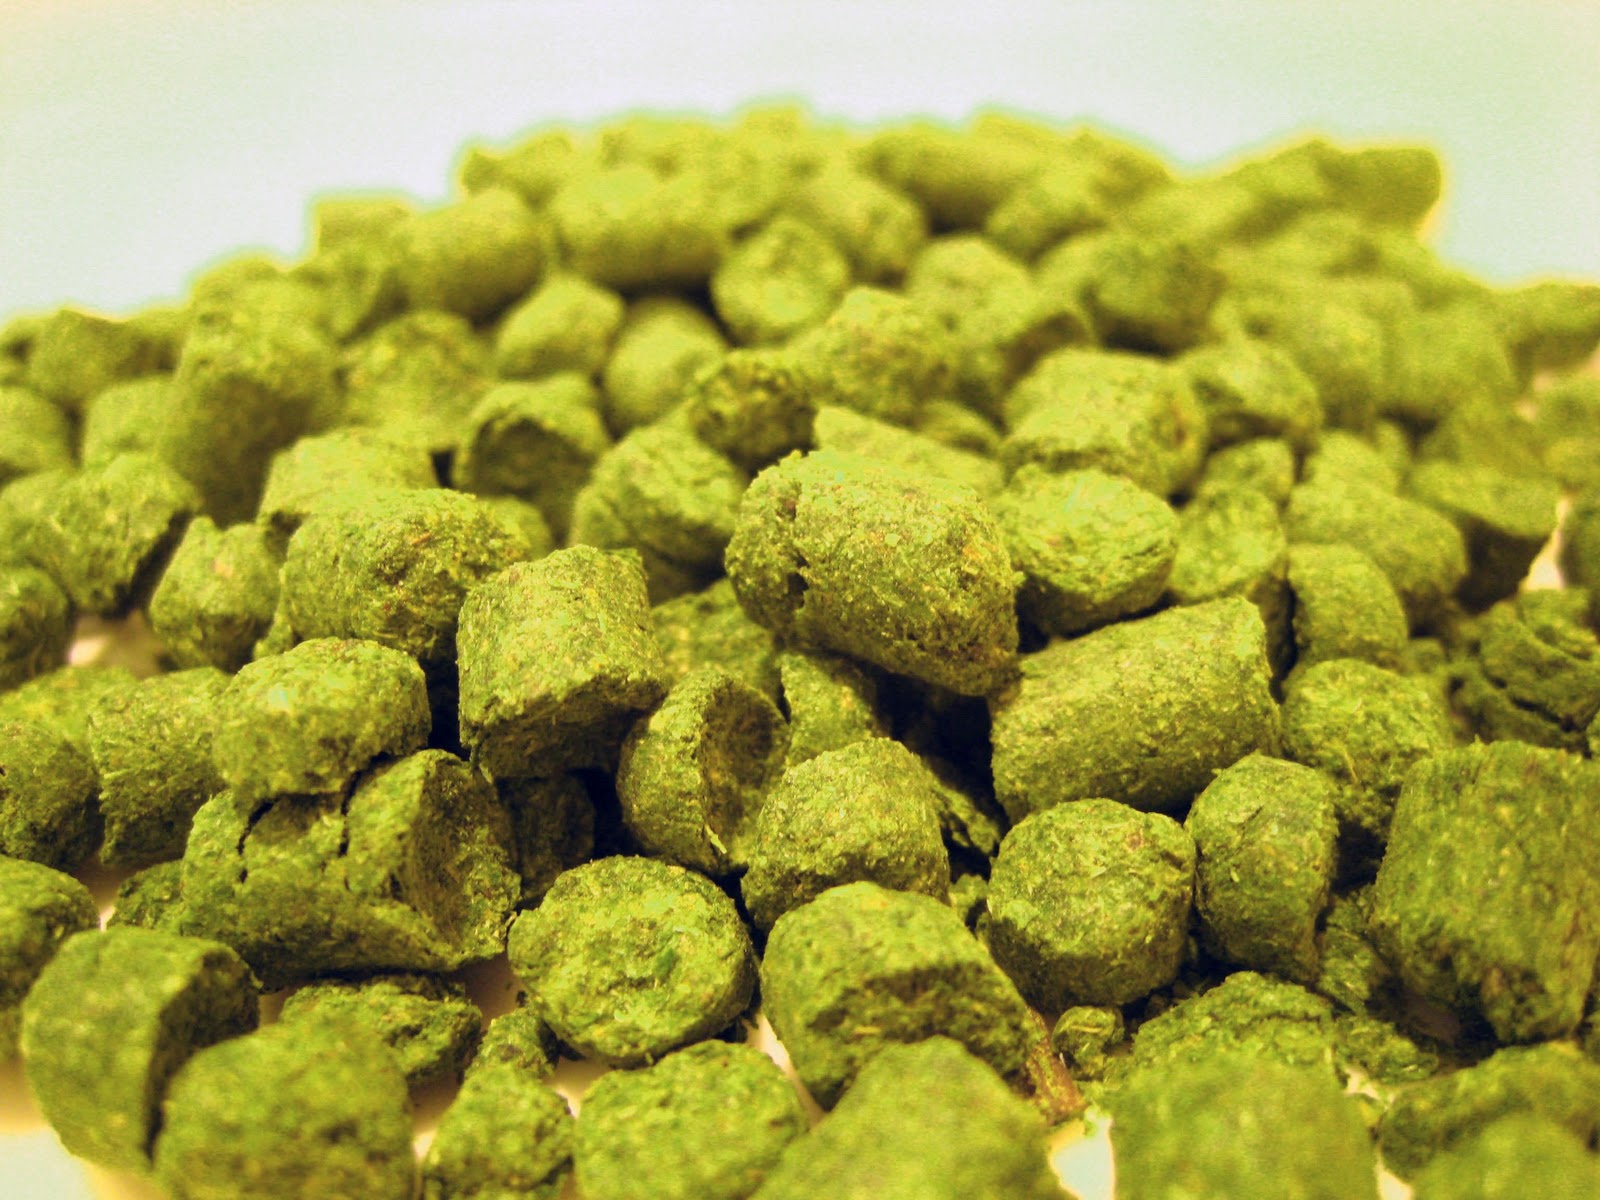
2 oz Northern Brewer hops (boiling)
3/4 oz Cascade hops (finishing)
Ale yeast
3/4 c corn sugar
 |
| Grain bag |
I had my local store crack the crystal malt and toasted barley. Placing in a mesh sack, these went into 1 1/2 gallons of cold water, then heated to 160-degrees to steep for 30 mins. I've started reading about the processes whereby enzymes convert proteins and starches into fermentable and non-fermentable sugars, and the effect of temperature, time, pH, etc. All very fascinating, and all I'm sure coming into play at this juncture of the process. I have a lot to learn.
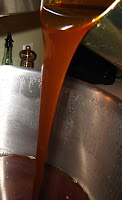 |
| Amber malt extract |
After pulling out the grains, in went the malt extract, the gypsum and the boiling hops for 60 minutes of boiling. For the last minute of the boil, in went the finishing hops. I have to say, the house smelled quite amazing! The spent grains were cooled and set aside for Maureen's newest project - Spent Grain Wheat Bread - coming soon to
Lick the Batter (if it turns out successful).
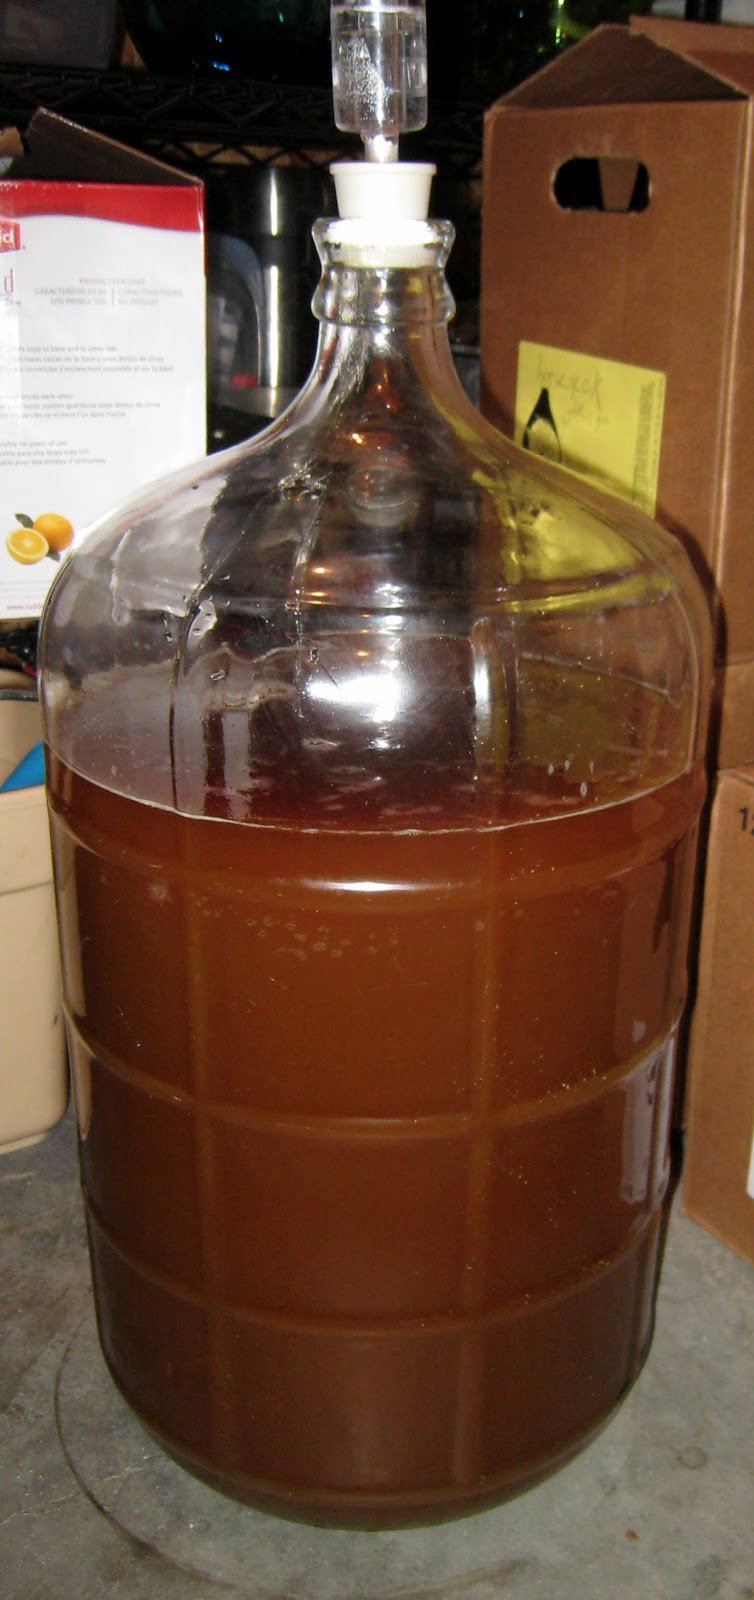
Guess I'm was a little out of practice since my last brewing project was on Halloween 2010. I struggled to have all my equipment properly sanitized at the right moment, racing to have the primary fermenter, strainer, et al at the ready. I certainly haven't used this much hops in past brewing projects as the strainer became somewhat clogged requiring me to stir the wort (oh wait, my spoon isn't sanitized!) through the strainer. Topping off the wort with additional cold water to the 5 gallon mark, down in the basement went the fermenter. The wort was at about 85-degrees, and took a couple hours to get to the sweet spot for "pitching the yeast", or 68- to 75-degrees. I pitched at 75-degrees. I snapped the cover on the fermenter, pushed in the air lock and proceeded to push the little black o-ring right through and into the bottom of the wort. Oy! After a few unsuccessful attempts to spoon it out, I resorted to black electrical tape to form a seal on the air lock.
It will be amazing if this brew doesn't become contaminated with all my sanitation snafu's.
After roughly 12 hours, there are few visible signs of active fermentation. I'm worried, but need to give it a full 24-36 hours. Keep your fingers cross with me!
This will ferment for up to 2 weeks. Papazian suggests that "because Palilalia's strength and high hop rate, this ale is best aged 3 to 4 weeks in the bottle before drinking". Cripes! Hope I can wait! I suppose that's when spring here in Maine may FINALLY arrive.

 Well, I decided not to react too quickly. I'd give it a couple more weeks in the cellar and perhaps that would help mellow thing out.